When installing the Kardex Power Pick System on a new computer there are generally 2 reasons for doing so, either you are replacing and existing workstation or are adding a new one. After the installation section of this document is complete there are 2 additional sections, one on how to create a new station and the second on how to replace an existing station.
- The first step is to locate the Kardex Power Pick System setup application which will be located inside of the application directory on any computer that runs the Kardex Power Pick System (ie. C:\Program Files (x86)\KARDEX\Power Pick Global). Transfer this file to any computer which you would like to install Power Pick and then double click the file to run it.

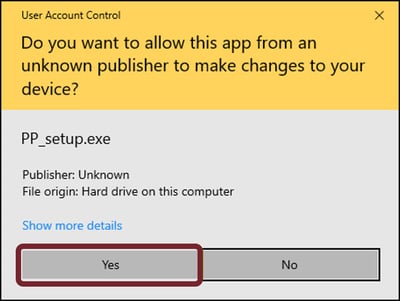
- If prompted to allow this application to make changes to your device, select “Yes”
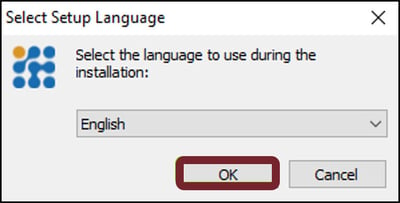
- You will now be asked to select your language in which the Kardex Power Pick System will be installed, this can be changed later, chose your language and select “OK”.
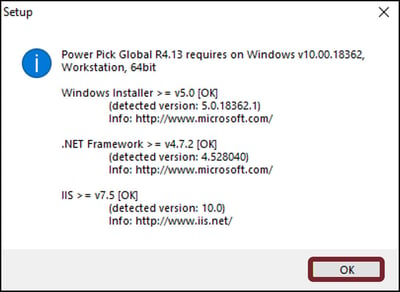
- The Kardex Power Pick System installation wizard will now try to detect and verify compatibility of your Windows Installer and .NET Framework, if both are listed as “[OK]” after the version number (ie. .NET Framework >= v4.7.2 [OK]), then you can select “OK” to continue, otherwise update the incompatible version of whichever of these three that are not compatible.
- IIS is not required for the Kardex Power Pick System to function on client computers, if your version does not state as compatible there is no need to update it
- IIS is not required for the Kardex Power Pick System to function on client computers, if your version does not state as compatible there is no need to update it
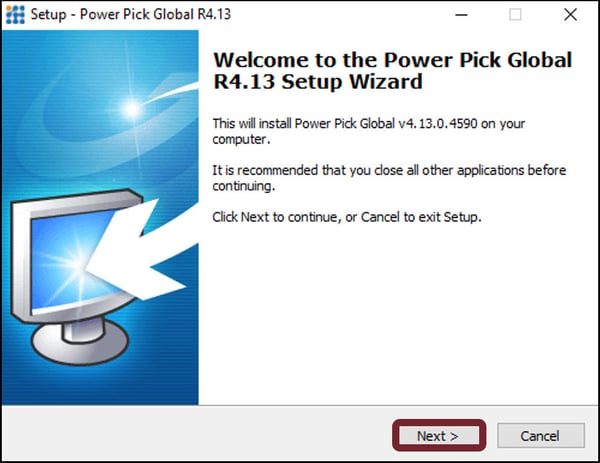
- The Kardex Power Pick System installation wizard will now ask you to select “Next >” to continue your installation.
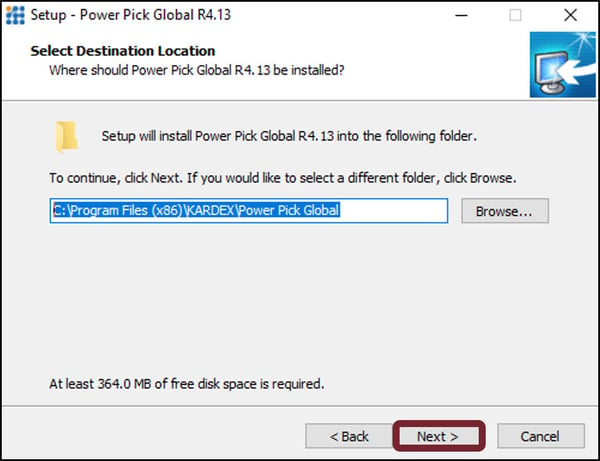
- The Kardex Power Pick System installation wizard now will ask you to determine where the Kardex Power Pick System will be installed on the computer, and while the program can be installed anywhere, Kardex recommends to use the default file path of “C:\Program Files (x86)\KARDEX\Power Pick Global” for ease of future troubleshooting. Select “Next >” to continue.
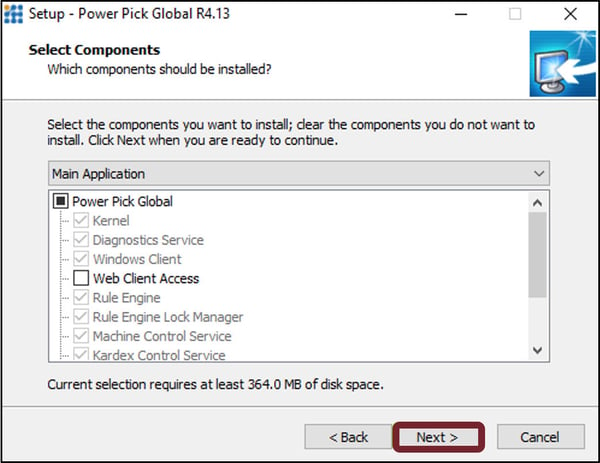
- The Kardex Power Pick System installation wizard will give you options for what components can be installed, select “Next >” without making any changes.
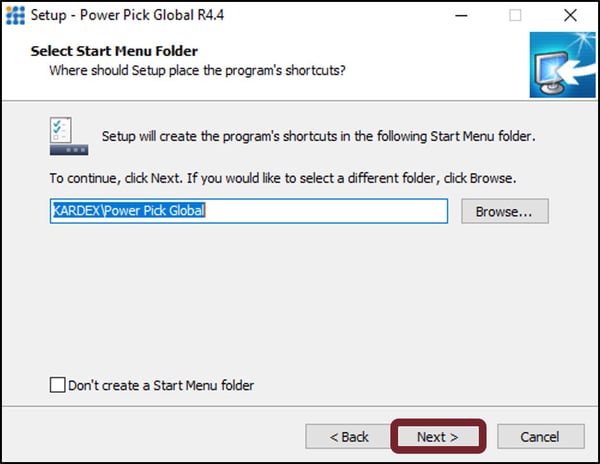
- The setup wizard will now ask you about creating a folder on the start menu, to confirm this action, select “Next >” with no changes made, otherwise check the box in the bottom left of the wizard to disable start menu folder creation.
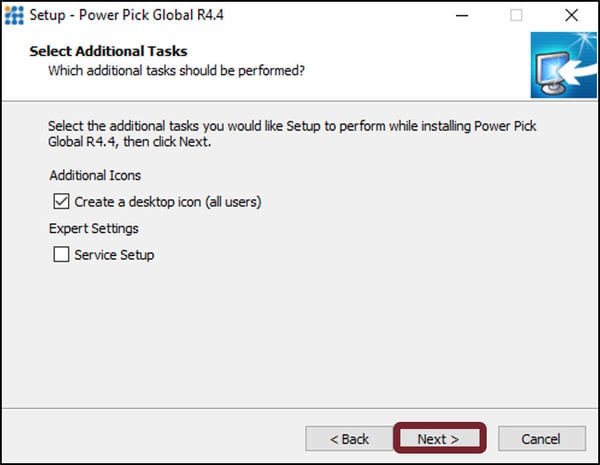
- Now you will be asked if you would like to create a desktop icon for all users, choose that for convenience if multiple operators will use this PC, and leave “Service Setup” unchecked, then select “Next >”.
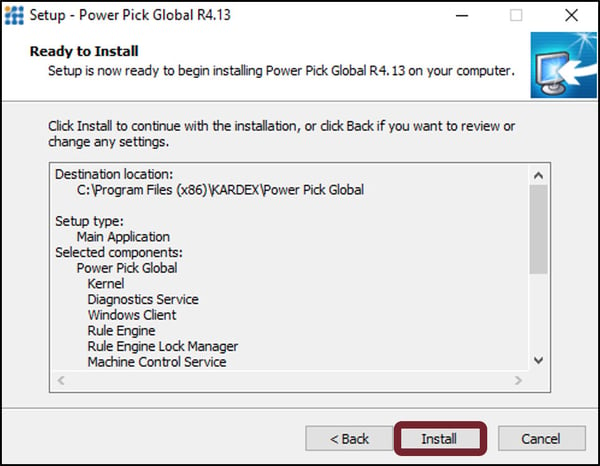
- The Kardex Power Pick System installation wizard will now review all the options confirmed up to this point, select “Install” to proceed with installation.
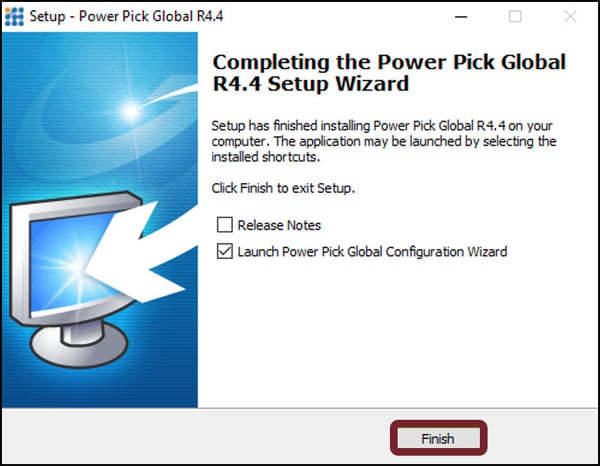
- Now that installation of the Kardex Power Pick System is complete you can uncheck “Release Notes” and leave “Launch Power Pick Global Configuration Wizard” checked, then select “Finish” to proceed with configuration.
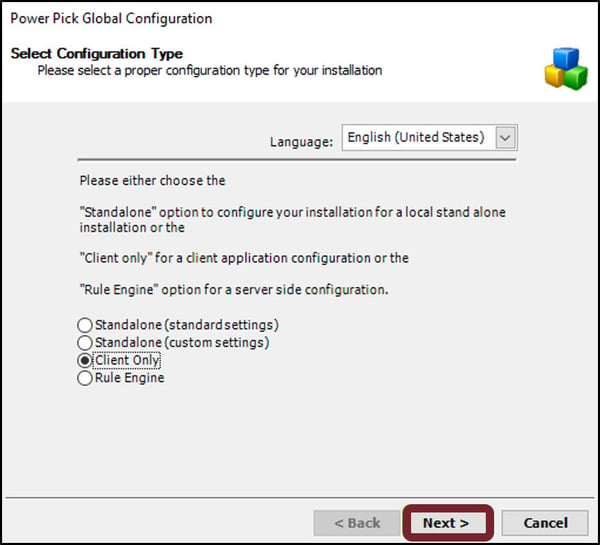
- You will be prompted to select configuration type. For computers that will act as rule engine, as well as a workstation for the Kardex Power Pick System, select “Standalone (standard settings) or Standalone (custom settings)”. For computers that will act as a workstation for the Kardex Power Pick System, select “Client Only”. For computers/servers that will host your Rule Engine service, select “Rule Engine”.
- Note that only 1 computer / server in the warehouse will act as a Rule Engine, multiple Rule Engines per warehouse will conflict and not perform tasks properly.
- For this guide we will be configuring a Client Only machine. All computers that do not host the Rule Engine are the Client Only.
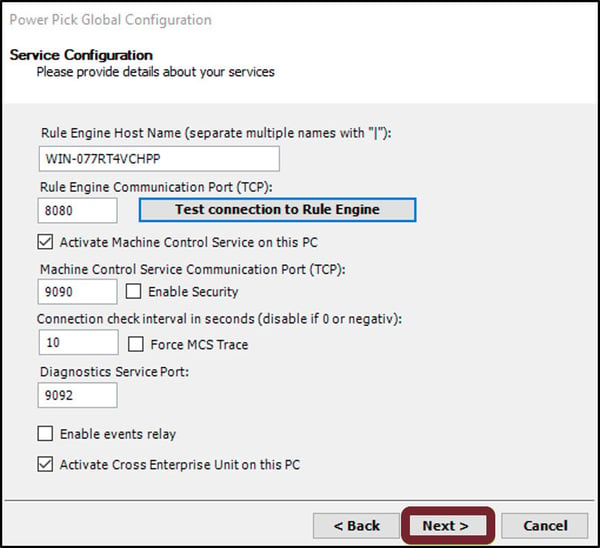
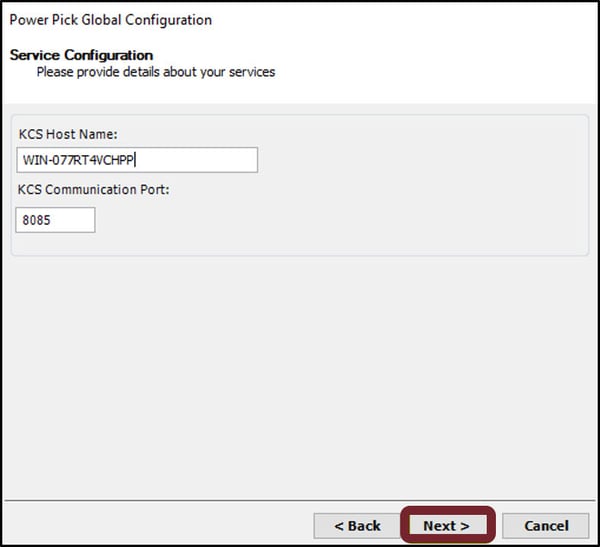
- In the service configuration menu, you will need to enter in your Rule Engine Host Name, as well as whatever port information that has been assigned to your Rule Engine (port 8080 by default). Once you have this information entered, you can select “Test connection to Rule Engine”, and upon successful connection to the Rule Engine, you can then select “Next >” to proceed.
- Next you will be asked whether or not to activate the Kardex Control Service or KCS on this PC. Leave this as is and select “Next >” to continue without entering in any changes.
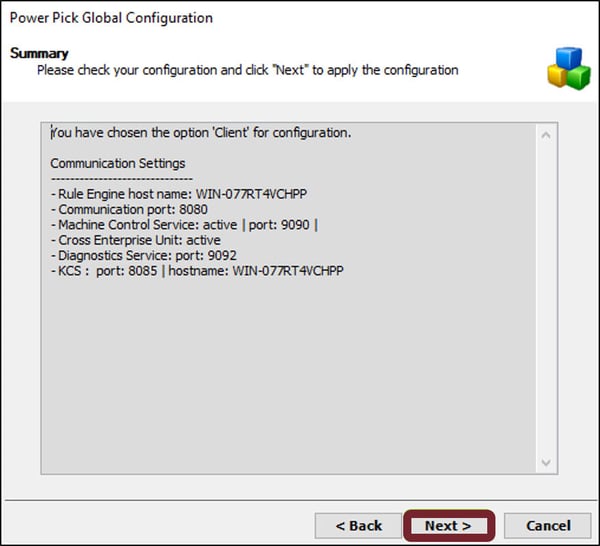
- You will now be prompted to review your configuration settings and if everything looks correct and has tested as functional, select “Next >”.
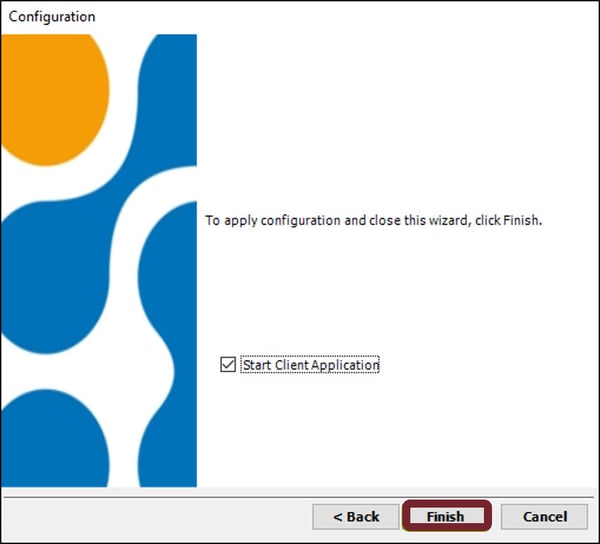
- Now that installation and configuration is completed, select “Finish” to launch the Kardex Power Pick System.
Creating a New Station
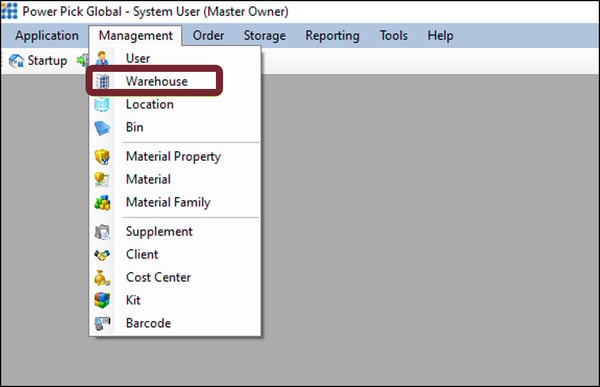
- Once you have opened the Kardex Power Pick System, in the top left corner, select “Management” and then select “Warehouse”.
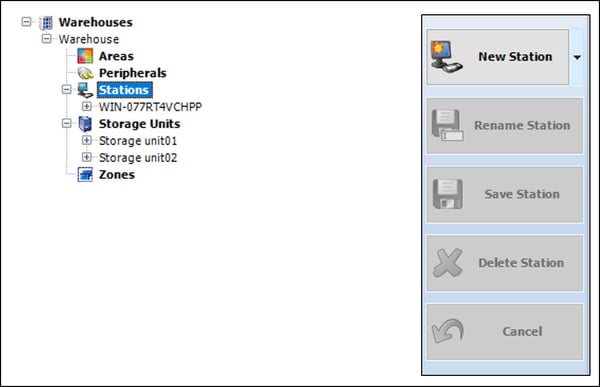
- On the left-hand side, expand Warehouses, then expand the warehouse you are working in, and then finally select “Stations”. Then on the right side of the screen, select the “New Station” option that has appeared.
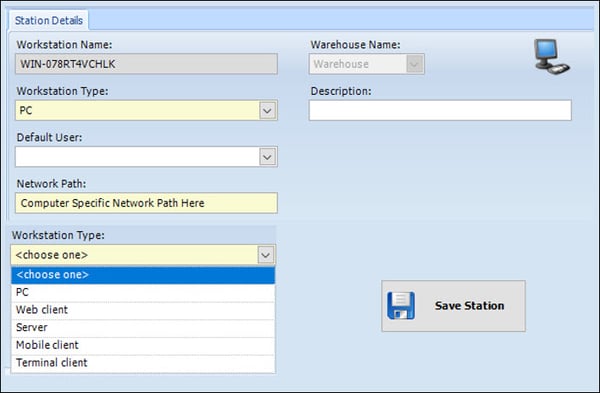
- Now You will be able to give your workstation a name, as well as designate the workstation type. Also, you are going to want to input your desktop specific network path so that all Kardex Power Pick System instances and the machines in the warehouse can communicate with this computer. Once the three mandatory fields are entered, you can select “Save Station”.
Please see the knowledge article on How to Setup Bindings in PPG if this station will be utilizing storage units
Use an Existing Station
If you are replacing an existing station, then you will not need to setup a new station and it can cause more harm doing it that way. Instead we will take the existing stations settings and move then to the new PC.
- Once you have opened the Kardex Power Pick System, in the top left corner, select “Management” and then select “Warehouse”.
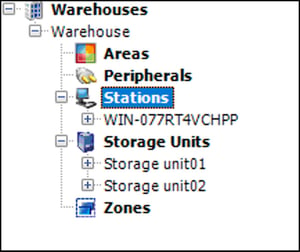
- Select the existing Station name under Stations.
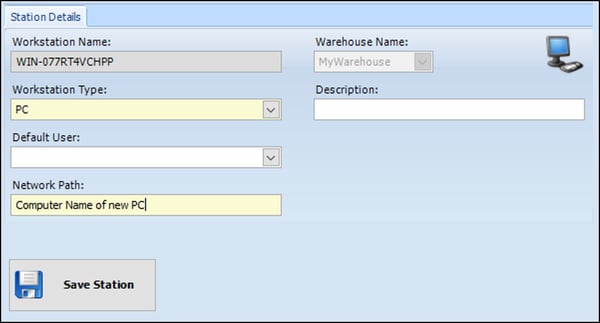
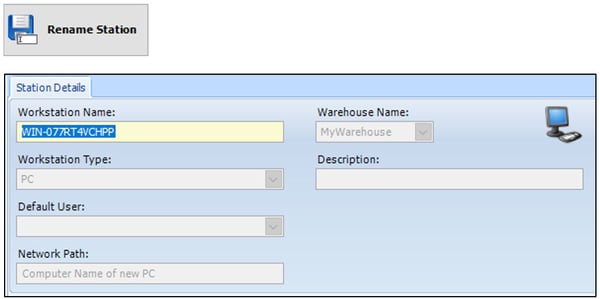
- Enter the computer name of the new PC and Save
- Close the Kardex Power Pick System and repeat steps 1 and 2. This will log you into the server as the existing station, the next step will not work if you do not close and re-open the Kardex Power Pick System.
- On the right select Rename Station and update the Workstation Name if desired.
Download these directions in PDF here.
Need additional help? Contact us.